
How to evaluate a filament sample
A practical guide to assessing filament samples, from print appearance and consistency to packaging and suitability for your application.

1. Define your use
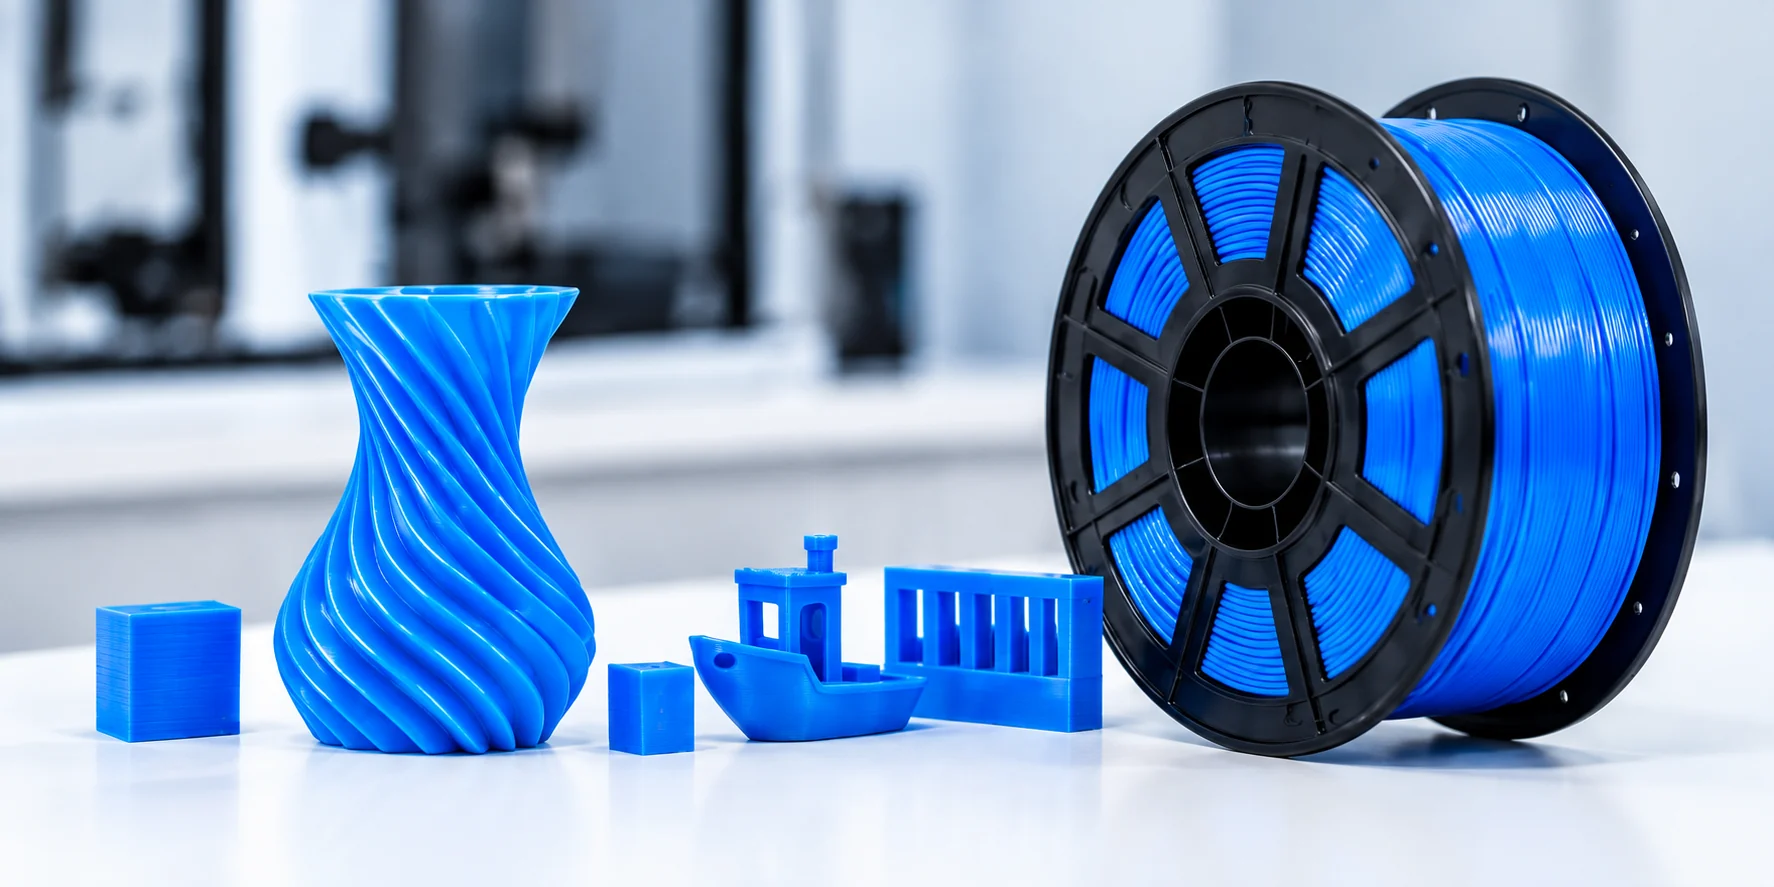
Start by considering how you plan to use the filament. Think about the products you will print, the appearance you need and the working environment. Write down the aspects you want to evaluate, such as color, surface finish and the fit of printed parts. This gives you a clear brief for comparing samples.
2. Record your printer setup
Keep a record of your printer model, nozzle, slicer and the settings used for the test prints. Use the same setup for samples you want to compare. A consistent printing environment helps you distinguish differences between materials from changes in the setup. Photograph the finished prints and keep the settings alongside them.
3. Compare appearance
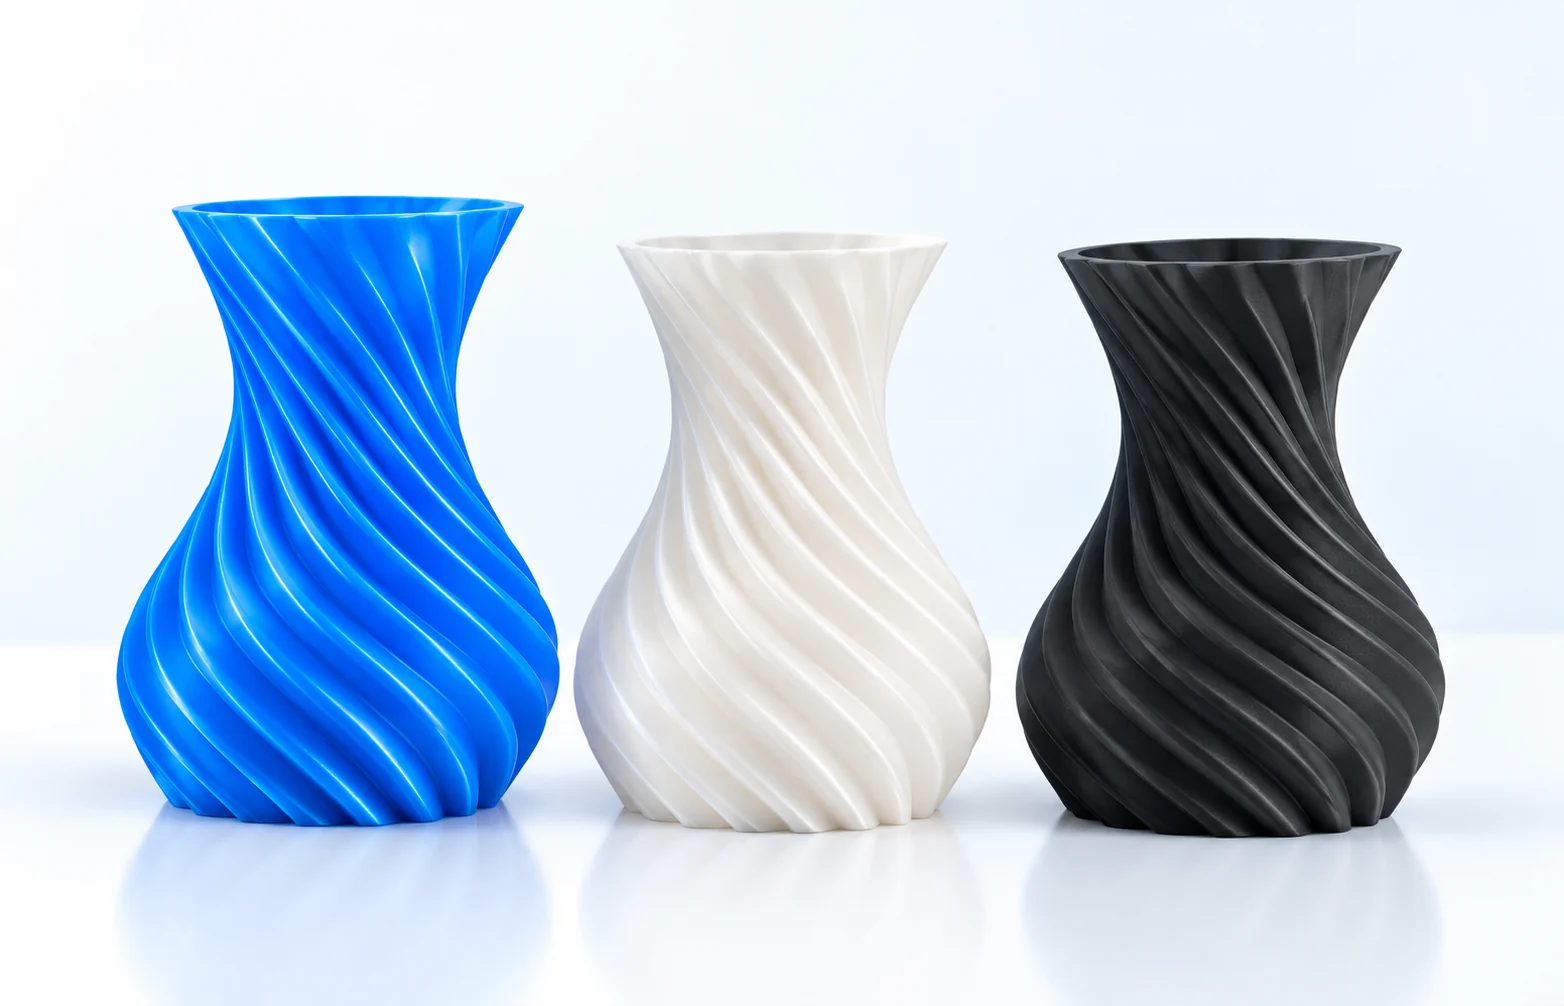
Review the print under consistent lighting. Look at color, surface finish, layer lines and visible defects. Compare the same model at the same scale. For silk, matte or multi-color finishes, turn the part under the light and observe it from several angles. Screen images are a reference, while a physical sample lets you assess the appearance directly.
4. Review packaging
Check how the spool is protected, how the bag is sealed and whether the label identifies the material and color. Keep the original packaging for reference. If you need custom labeling or retail boxes, record those requirements separately so the sample assessment and packaging brief remain clear.
5. Share your findings
Summarize your results and tell our team how the sample performed for your application. Include the series, color, printer, settings, photographs and the points you want to improve. This information helps us discuss the material, appearance and packaging requirements for the next step.
By checking print quality, consistency and packaging, you can make an informed decision about the filament for your products.
Sample evaluation checklist
Use this checklist to keep your evaluation organized.
Related articles
材料
Choosing PLA or PETG for your application
Compare the documented PLA and PETG series and use a clear application brief to guide your sample evaluation.
Read More →
材料
Understanding silk and matte finishes
A practical look at appearance, light and the sample checks that help you compare filament finishes.
Read More →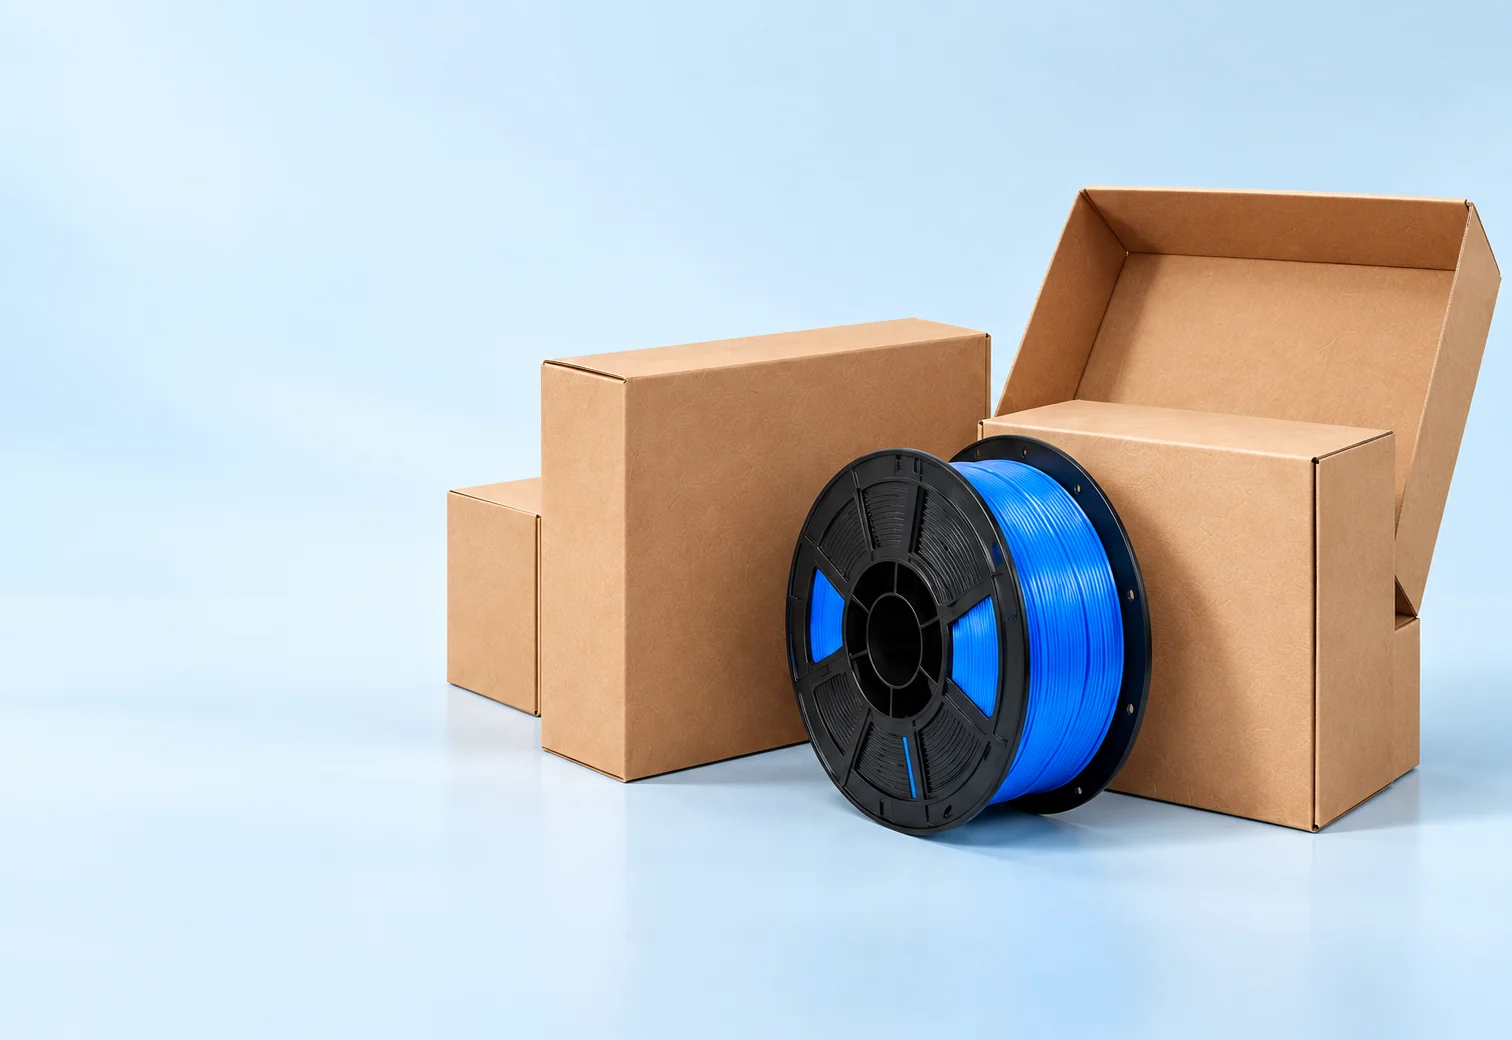
Business
Preparing a private-label brief
The material, color, spool, label and packaging details to prepare before discussing a branded filament range.
Read More →
REQUEST A SAMPLE
Talk to our team about
Talk to our team about
フィラメントが必要です.
Tell us your application and we will help you discuss the right material for your project.
中国山東省淄博市